Districts & Properties
The city is divided into distinct districts, each offering unique tactical challenges and economic opportunities. Understanding the terrain is essential for dominating the map.
Five Districts, Five Different Decisions
Districts are rules, not cosmetic labels. Their modifiers apply to the economy, defense, Heat, or police response and therefore change which block is valuable at a particular stage of a run.
- The Docks — Smuggling Bonus: +25% business income, but capture costs 25% more. Police response is slower — heat drains faster.
- Neon Strip — Casino Economy: Income swings ±40% every tick. Heat builds 30% faster here.
- Industrial Row — Fortified Territory: Base defence is 1.5× — assaults grind, garrisons hold.
- Old Town — Informant Network: First visit reveals a rival gang's total crew and their weakest garrison.
- Uptown — Elite Businesses: Upgrades cost 1.5×, but upgraded businesses pay 2× income. Police shoot straighter.
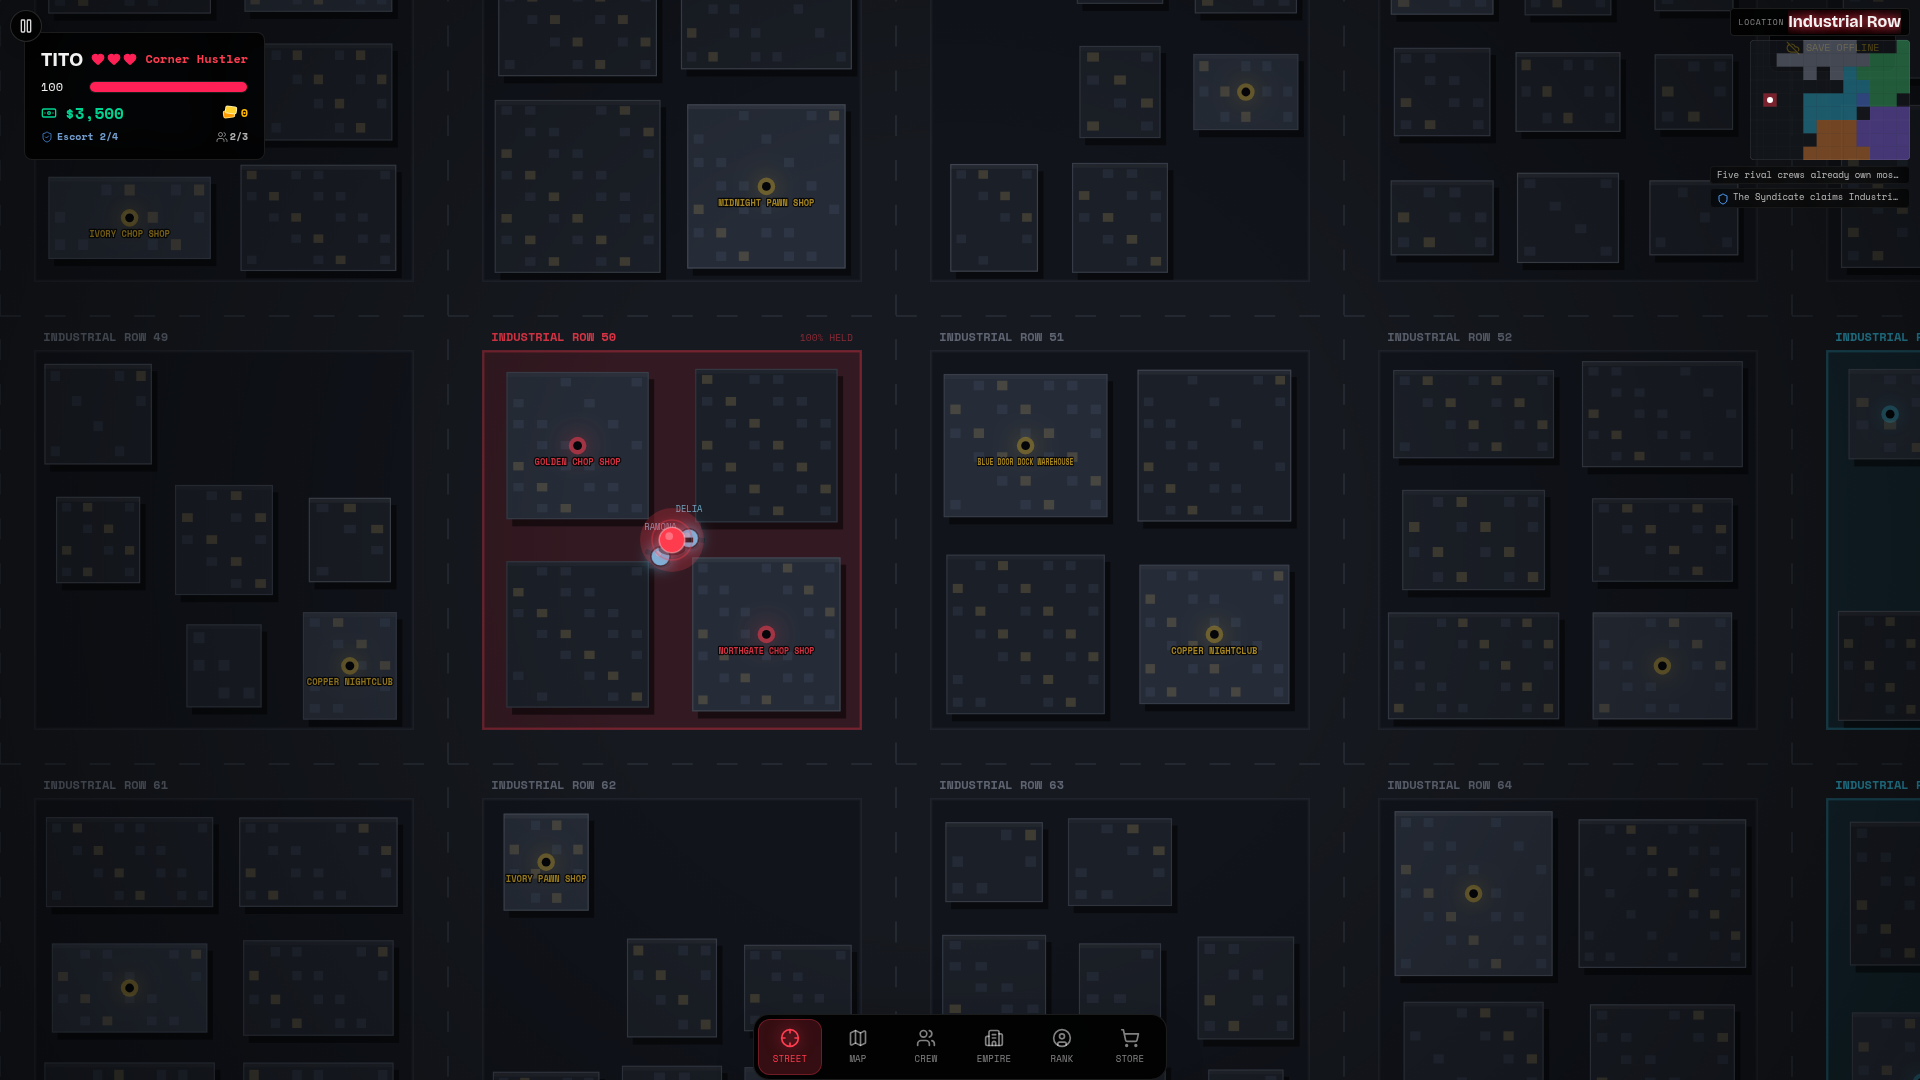
Strategic Properties
Selected blocks carry a named strategic property in addition to their ordinary businesses. These effects reward connected territory and purposeful assignments rather than raw page-count expansion.
- Chokepoint: Connected turf is harder to breach.
- Warehouse: Stockpiles make business upgrades cheaper.
- Safehouse: A secure retreat restores control faster.
- Garage: Vehicles let this block deploy more crew.
- Surveillance Zone: Eyes on the street reduce local heat gain.
Combining District and Property Effects
Read both labels before spending. A Warehouse can offset an expensive upgrade plan, a Chokepoint can reinforce connected border blocks, and a Garage is most useful where dispatched crew actually have targets. A Surveillance Zone supports operations that would otherwise add more Heat, while a Safehouse helps a damaged block restore control.
District tradeoffs still apply underneath the property. Uptown can produce exceptional upgraded income but asks for more upgrade cash and brings more accurate police fire. The Docks offer stronger base income and faster cooling but cost more to capture. Industrial Row is slower to break because of its defense modifier. There is no universally best district.
A Practical Route
Consolidate a defensible cluster first, then choose the next district for a specific reason. Move toward the Docks when Heat management and steady income matter; toward Uptown when you can fund upgrades and survive police pressure; toward Old Town when rival intelligence is worth a first visit. Check Territory & Economy before taking an isolated property whose payroll cost exceeds its strategic benefit.